I prefer to post the following in English, as I suspect the Google Translate function produce too many errors - hopefully you’ll get a decent translation from your web browser’s built-in translation functionality.
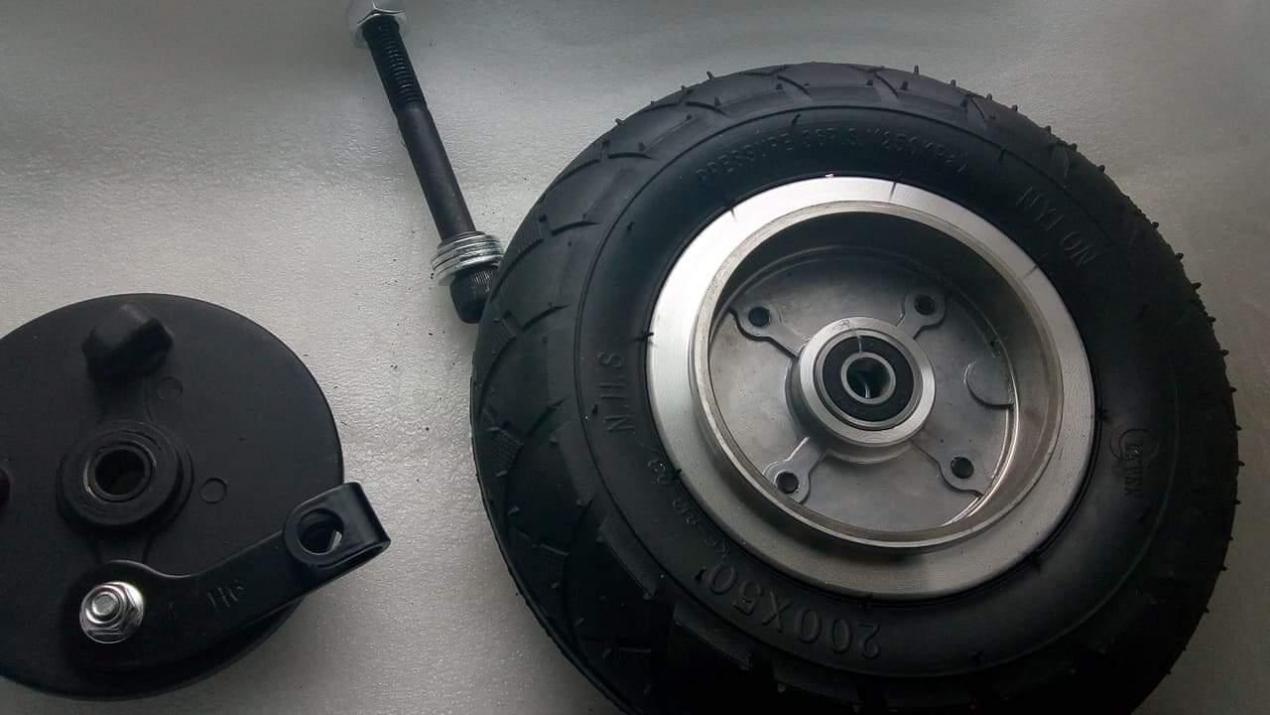
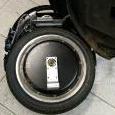
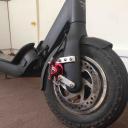
@TrotiRaptor I haven't swapped the front wheel yet. It's a project that will have to wait for a bit, as I've been spending a lot of time and money on the Phaserunner+Cycle Analyst modification. But I am pretty confident that it can be done without any major complications to the existing suspension arm setup (assuming you simply swap the hub covers prior to installation - replace the drum/disk brake hub cover (that is attached to your new motor, preferably the one previously mentioned - Peipei @ aliexpress - I'll explain why, further down) with one of the original raptor hub covers. It fits perfectly, and all screw holes are identical to the raptor motors. By removing the brake cover, you keep the width of the wheel to a minimum and thus should be able to fit it without changing swingarms. You may have to add spacers or something similar to the top shaft of the suspension (or "small iron axis", as Kylin refers to it, at KWK), but I am not certain of the necessity for this.
@Fab Znam - This is my motor: https://www.aliexpress.com/item/32961627060.html?spm=2114.12010615.8148356.1.6fcd2c44RmKyWo. I pull a maximum of 45A from the battery pack (you probably know thisd, but to everyone who might not - never set amperage max limits without knowing your battery capabilities first). However, the Phaserunner is able to push even more amps than what’s pulled from the battery by converting voltage (as I understand it - there might be a more correct explanation) - and I set that limit to 90A. The motor is only rated for 20A continuous current, according to the manufacturer, but for short periods you can push way more current than so, as long as you keep an eye on the motor temperature. I also inject “statorade” that helps cooling the motor - it works wonders and can be ordered from: https://www.ebikes.ca/product-info/statorade.html. All in all, I can now get even more powerful acceleration from a single motor, than what I previously got while on dual turbo mode - not from a stand-still (although it's improved, as compared to single motor turbo mode) but while already moving. Thanks to the phase current the Phaserunner produces, it gives you massive torque while accelerating in higher speeds and for maintaining speed as you go uphill.
@S3RG3I @asgar @TrotiRaptor First I’d like to apologize for delaying with a further description of my Phaserunner modification. But here it goes - I'll try to keep it compressed, and I will upload a couple of video clips on my Raptor in action in a few days or so, to give you an idea of the performance of the new setup. Here is a somewhat simplified set of instructions for this mod - but keep in mind that those are MY experiences from attempting this myself, without any available instructions applicable to electric scooters in general (or DT Raptor in particular). The Phaserunner is mainly marketed for use in electric bicycles, while e-scooters in general use less sofisticated controllers - hence the lack of records or instructions online. There's this one Israeli guy who uploaded a couple of YouTube clips of his Inokim Ox after having installed the Asi Bac 800, which is basically the same as the Phaserunner with similar specifications; and the output he achieved was insane - but he never posted any instructions or further details on how to do the modification. However, it made me realize it's possible to pull it off on an electric scooter, and so I made up my mind to give it a try.
In my honest opinion it wasn't really complicated at all, despite having no previous experience of electronic work (such as soldering connectors, or splicing cables, and so on). I simply learned along the way what I couldn't figure out myself, using YouTube for tutorials on basic electronic modifications, such as soldering.
Here’s my list of purchases:
The Phaserunner, along with a standard "motor cable harness" of desired length as well as a "USB->TTL communications cable", from https://www.ebikes.ca/shop/electric-bicycle-parts/controllers/phaserunner.html
A bunch of Anderson PowerPole connectors, as you will have to replace your existing high current connectors with these in order to fit your new Phaserunner cables (2 plugs go on your battery power discharge cables, that will feed power into the Phaserunner, and 3 plugs goes on your motor phase wires, that connects to the plugs on the Phaserunner motor output cable): https://www.ebikes.ca/shop/electric-bicycle-parts/connectors/conanderson.html
You'll also need a bunch of JST connectors to connect any low current cables to your new setup, such as your throttle or aux buttons/switches: https://www.ebikes.ca/shop/electric-bicycle-parts/connectors/conbag.html
The Cycle Analyst V3 - it’s not a requirement, as the Phaserunner can be controlled with just a throttle if you connect it straight to the Phaserunner, but I highly recommend getting the CAV3, as it gives you access to a ton of settings and on-screen information, such as battery level, speed, trip+odometer, current amp draw, current power output, throttle ramping adjustments, preset profiles, proportional regenerative braking and e-braking, and loads of other things: more info can be found at https://www.ebikes.ca/product-info/cycle-analyst-3.html and ordering is done at https://www.ebikes.ca/shop/electric-bicycle-parts/cycle-analysts/ca3-dp.html. Be sure to order the version that is meant for Direct Drive hub motors with internal speedometer (e.g. hall sensors). If you insist on keeping the original (sensorless) Dualtron motors, you would have to get the version that has an additional speedometer sensor. External buttons and switches can be added to your CAV3 setup as well, if you would like to set up some presets for quick switching on-the-go (such as, for example, economy mode, turbo mode, speed or power limits, etc): https://www.ebikes.ca/shop/electric-bicycle-parts/ca-accessories/aux-input.html. Personally, I find those of no use for my specific needs.
A compatible (3-wire) potentiometer throttle - I use the Wuxing thumb throttle available at https://www.passiongadgets.com/wuxing-108x-2in1-thumb-and-finger-throttle-speed-controller/, but there are also a bunch of options available here on Grin’s own website, for which you are ensured compatibility with the Phaserunner and CAV3: https://www.ebikes.ca/shop/electric-bicycle-parts/throttles.html
Regarding the Phaserunner's ingenious e-brake functionality (it supports proportional regenerative braking, meaning you can adjust the braking strength in real-time by engaging your brake lever just a tiny bit to activate the e-brake sensor; and then using your throttle to control braking intensity - pressing harder means more intense braking - the max braking strength can be adjusted through the Phaserunner). This is simply phenomenal in practical use, and it does a fantastic job to enhance the Raptor's braking capabilities while also regenerating power to you battery. The CAV3 will display the additional power that your regenerative braking generates - in my experience it usually adds about 7-10% to my range, on a typical ride. In order to enable the e-braking functionality (and proportional regen) you will need either a separate e-brake lever, or an e-brake sensor that attaches to your existing brake lever and plugs into the CAV3 (a so called "tripwire") - this is the setup that I chose, and it works superbly together with the drum brake - it has dramatically shortened my braking distance. Check out both options here: https://www.ebikes.ca/shop/electric-bicycle-parts/ebrakes.html
An "Anderson tap" - this item allows you to supply your existing front and rear LED's with power (or anything else that you'd like to add to your setup that requires power) via the original Dualtron DC/DC converter (as the Phaserunner does not come with native lighting functionality, this is a good work-around): https://www.ebikes.ca/shop/electric-bicycle-parts/wiring/andersontap.html
And of course - a sensored motor! Although the Phaserunner does also support sensorless motors, such as the original Dualtron ones, these do not work with the sinusoidal commutation that enable many of the advancements of an FOC controller (such as perfectly silent acceleration, smooth throttle control, pulse width modulation for increased top speed, and more).
For the Raptor, I suggest getting the Peipei phub-299, which I have previously installed to replace the original rear motor+wheel (covered in previous posts): https://s.click.aliexpress.com/e/FxNKO7UOR. This motor comes with hall sensors pre-installed (but you will have to crimp/solder JST connectors to these wires), which connect to your Phaserunner to enable full FOC functionality. Furthermore, it's also a great motor - disregard the bad reviews on the aliexpress site, as one of them is actually mine, from before I got everything up and running. I've been using this motor (800W, 60V) as my only motor since I finished the mod (as I only installed one Phaserunner, which can only power one motor). I'm able to push approximately 3000W of output through it during brief moments, but most of the time it's around 2000-2500W continuously, despite being rated for 800W "only". This works just fine and does not damage the motor, as long as you don't allow it to overheat (on a hot summer's day, you should be cautious).
Another pro of this motor is that it is a lot cheaper than, say, the Dualtron Compact motor (which lacks hall sensors and thus FOC support). The thickness and shape of the shaft is identical to the original motor shaft (M10 threads), and the screwholes in the side covers are also identical to the original Raptor motors, which makes it plug-and-play compatibly (although you will need to solder new connectors onto its phase and hall cables).
This purchase list presumes the combination of the Phaserunner controller and the Cycle Analyst V3 interface - if you use a different controller, you will need extra connectors and shunts between the CAV3 and your controller. More info can be found at the Grin website (ebikes.ca).
Here's the basic modification process:
Step 1: Remove your old controller and the cables attached to it. Also remove your EYE3 LCD throttle, the interconnecting wiring between the throttle and controller. Cut the battery discharge cables (power IN to the controller) at the controller end. However, leave the following intact: The battery discharge cables, supplying the original controller (and soon the Phaserunner) with power. Also leave the two cables connecting the controller to the DC/DC 12V step-down converter's input (that's located in the right side department of your deck) - cut them at the controller end, leaving them connected to the converter. Also, optionally; keep the brake sensor cable - cut it at the controller end (see more info about this in next step).
Step 2: Cut the original connectors off the battery discharge cables and solder Anderson Powerpole connectors on the cable ends. These will connect to the Phaserunner. This is to be done on ONE pair of battery discharge cables (there are 2 pairs, since DT's are dual motors and the original controller is, in fact 2 controllers in 1 unit); if you're installing dual Phaserunners for a 2WD setup, you will have to solder Anderson PowerPoles onto the other pair of battery discharge cables. If not, seal and isolate the unused cables (using heatshrinks) in order to secure them from causing short circuits or damaging your other gear in any way. Don't remove them.
Important note regarding brake light functionality: One thing that I overlooked as I removed all the old cables and things to be replaced, is the rear brake lights. I accidentally removed the electronic brake sensor cable, thus removing the brake light functionality (intensified rear LED light while braking). I don't really know how to get this to work with the new setup, or whether it's a functionality that's fully depending on the controller supporting it, but I suspect it can be preserved to use with the Phaserunner setup somehow. I honestly don't mind having no brake light functionality, as I'm fine with the regular, constant light of my rear LED's. But if you want to keep this functionality, you should take a look at a wiring diagram: https://images.app.goo.gl/a1pbQmqYFGUgGvM68 (this is also great to refer to throughout the modification process, should you be unsure of which connection goes where or if you simply want to take measures to avoid mishaps, by planning each step of the mod carefully. It takes some getting used to reading and interpreting the diagram, but it's actually quite simple once you get used to it.
Step 3: Plug your Anderson Tap to the battery discharge cables, and connect the DC/DC 12V converter input wires to the Anderson Tap (either install a female DC plug onto the DC converter input wires and connect to the Anderson Tap's male DC output; or solder Anderson PowerPoles; or simply cut and solder the loose ends together, finishing with a heatshrinks. This gives you front+rear LED functionality as before - when main power is switched on, lights are toggled ON/OFF with the usual button on the right side of your deck.
Step 4: Connect the Phaserunner to the battery by plugging the two power discharge cables (which has Anderson connectors, unless you opt for a different cable harness as you order the Phaserunner) into the Anderson Tap, which in turn plugs into the Phaserunner power input. ENSURE THAT THE MAIN POWER SWITCH IS TURNED OFF PRIOR TO CONNECTING THE PHASERUNNER TO THE BATTERY DISCHARGE CABLES!
Step 5: Plug your motor cables (phases + hall sensors) into the Phaserunner's motor output (I am hereby assuming that you have already installed a new, sensored motor, that you have fitted with the proper connectors - Anderson PowerPole connectors on the three phase wires (these are the thick ones) and a JST plug to the hall sensor wires, which are the super thin ones - usually 4 or 5 in total).
Step 6: Connect your throttle to your Cycle Analyst, which in turn is connected straight to the Phaserunner using the existing 5-pin JST cablage.
Step 7: Download and install the Phaserunner software suite onto a PC computer (available at https://www.ebikes.ca/product-info/phaserunner.html#software-suite). Turn on your scooter's main power and connect the Phaserunner to a computer using the USB->TTL cable.
Step 8: Run the initial controller-motor setup. This is quick and as soon as it's done, you're good to start customizing your Phaserunner using the computer software. You can tweak loads of things, such as torque ramping, regenerative braking strength, max battery and motor current, pulse width modulation, and one of my favorites - simulated freewheel, which feeds a small, adjustable current to your motor as you let go of the throttle, in order to cancel out the magnetic drag of the motors that tend to slow you down - this enables you to release the throttle during declinations without losing speed. See the user guide for all functionality, on the same webpage linked in step 7.
Step 9: Set up your Cycle Analyst. Keep in mind that, due to its advanced functionality, it's a bit of a process to go through the setup of the CAV3. Since it mainly targets DIY e-bike (or e-vehicle) builds, it lacks a speedy auto-setup functionality, and needs to be manually tuned to conform to your controller, your motor and your battery pack characteristics in order to give you the correct readings. It also requires fine-tuning the throttle behavior. Thus, it does require some patience in order to get it set. But it's worth every second you spend on the setup process, as the Cycle Analyst allows you to monitor or tweak pretty much anything that goes on with your vehicle. Like, really - it's a fully equipped control centre for your e-scooter that, once initialized, will allow you to fine-tune and adjust every little aspect of your riding experience. It even supports temperature monitoring of, for example; your motors, in order to avoid overheating and to allow you to squeeze out every possible watt of your motors - with no risk of performance degradation due to demagnetization. Make sure to read through the user guides, both the official and the unofficial ones (especially the latter), in order to learn about the many functions. The user guides are available here: https://www.ebikes.ca/product-info/cycle-analyst-3.html#user-manuals
That's it! In case I've left anything out by mistake (which is highly possible, especially since I've been awake all night, writing this), or if you're missing any relevant info, just write me back in this topic and I will do my best to help out.
As I mentioned in the beginning of this post, I will soon be back with some videos from riding that could give a sense of the major improvements I've experienced since performing this modification.


